
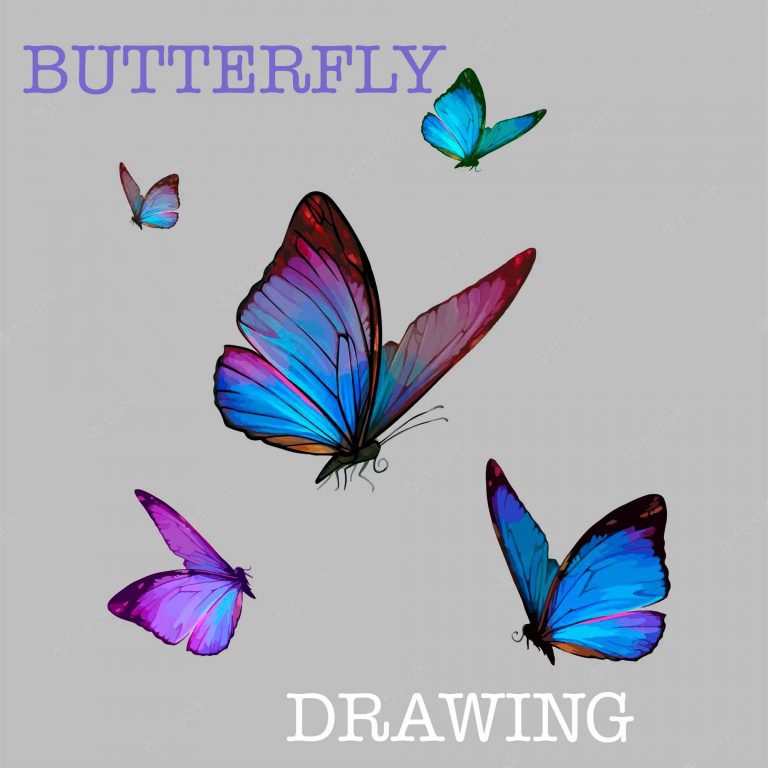
Butterfly drawing, Butterflies are one of the most beautiful and delicate creatures in the world. Their vibrant colors and intricate patterns have fascinated artists for centuries. If you want to capture the beauty of these creatures in your art, one of the best ways to do so is through butterfly drawing. In this article, we will explore the art of butterfly drawing and provide you with some tips and techniques to help you create your own stunning butterfly artwork.
Getting started with butterfly drawing
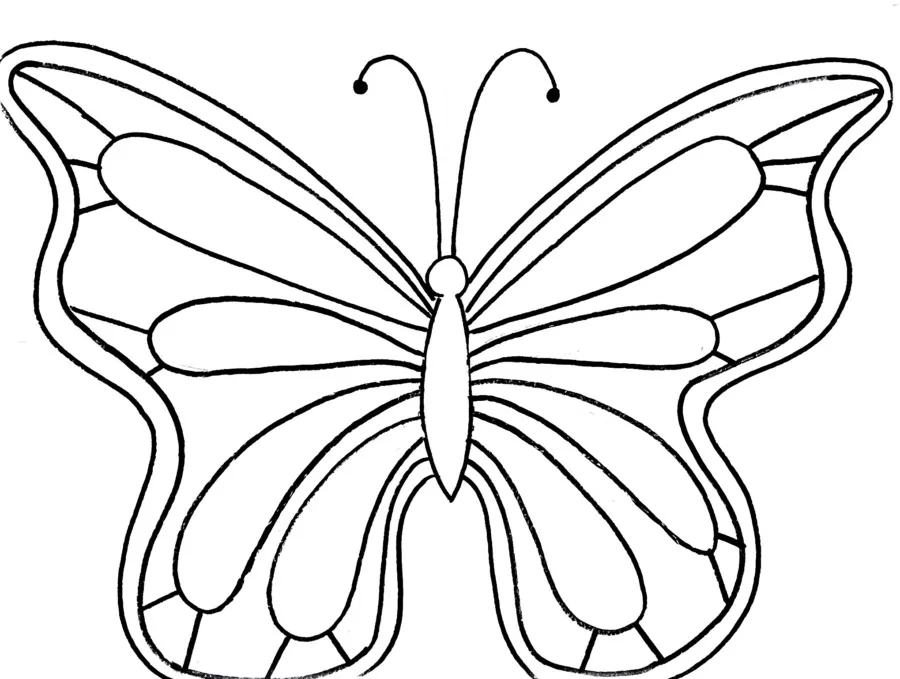
Before you start drawing, it’s important to choose a reference image to work from. You can find many butterfly images online, or you can take your own photos of butterflies in nature. Once you have your reference image, you can start sketching the butterfly outline lightly with a pencil. Take your time and make sure that the proportions are correct. If you are new to drawing, you can use a grid method to help you get the proportions right.
Adding details to your butterfly drawing
Once you have the outline of your butterfly, you can start adding details. Butterflies have intricate patterns on their wings, and it’s important to capture these patterns in your drawing. Start by sketching in the main lines of the pattern, then add the smaller details as you go. It’s important to pay attention to the direction of the lines and the placement of the dots and spots.
Choosing colors for your butterfly drawing
Butterflies come in a wide variety of colors, so you can have fun choosing the colors for your drawing. You can use colored pencils, markers, or watercolors to add color to your drawing. If you are using colored pencils, start with a light layer of color and gradually build up the intensity. You can also blend colors together to create a more realistic effect. If you are using watercolors, start with a light wash of color and gradually build up the intensity. It’s important to let each layer of color dry completely before adding another layer.
Adding shading and texture to your butterfly drawing
Shading and texture can really bring your butterfly drawing to life. Use a variety of shading techniques to create depth and dimension in your drawing. You can use hatching, cross-hatching, stippling, or blending to create different textures and shading effects. Experiment with different techniques to see what works best for your drawing.
Final touches to your butterfly drawing
Once you have added all the details, colors, shading, and textures to your butterfly drawing, you can add some final touches. You can use a white pencil or white paint to add highlights to the wings and make them look more reflective. You can also add a background to your drawing to make it look more complete. You can use a simple gradient background or create a more complex background with flowers or leaves.
Conclusion
Butterfly drawing is a fun and rewarding activity that allows you to capture the beauty of these creatures in your artwork. By following the tips and techniques in this article, you can create your own stunning butterfly drawings that will impress your friends and family. Remember to take your time, pay attention to the details, and have fun!
type of butterfly drawing
There are several different types of butterfly drawings that you can create, each with its own style and technique. Here are some examples:
- Realistic butterfly drawing: This type of drawing aims to capture the details and colors of a butterfly as realistically as possible. It often involves using shading and texture to create depth and dimension.
- Minimalist butterfly drawing: This type of drawing focuses on simplicity and uses minimal lines and colors to create a simple, elegant design.
- Geometric butterfly drawing: This type of drawing uses geometric shapes and patterns to create a stylized, abstract representation of a butterfly.
- Watercolor butterfly drawing: This type of drawing uses watercolors to create a soft, dreamy effect that captures the delicate beauty of a butterfly.
- Charcoal butterfly drawing: This type of drawing uses charcoal to create a dramatic, black-and-white representation of a butterfly, with bold lines and shading.
- Digital butterfly drawing: This type of drawing is created using digital software, such as Adobe Illustrator or Photoshop, and allows for precise lines and colors, as well as the ability to easily edit and manipulate the drawing.
- Cartoon butterfly drawing: This type of drawing uses a simplified, cartoonish style to create a fun, whimsical representation of a butterfly.
No matter what type of butterfly drawing you choose to create, the most important thing is to have fun and let your creativity soar!
how to make butterfly drawing in adobe illustrator
Creating a butterfly drawing in Adobe Illustrator can be a fun and rewarding project. Here’s how to get started:
- Open Adobe Illustrator and create a new document.
- Use the Pen tool to create the basic shape of the butterfly’s wings. You can create two separate shapes for the top and bottom wings, or use one shape and duplicate it.
- Use the Direct Selection tool to adjust the anchor points and curves of the wings until you are happy with the shape.
- Use the Gradient tool to create a gradient fill for the wings. You can choose any colors you like, or use a reference image for inspiration.
- Use the Pen tool or the Shape tool to create the body and antennae of the butterfly. You can also use the Gradient tool to add a gradient fill to the body.
- Use the Pencil tool or the Pen tool to add details to the wings, such as the veins and patterns. You can use a reference image for inspiration, or create your own unique design.
- Use the Eyedropper tool to sample colors from the wings and use them to add details to the body and antennae.
- Use the Blend tool to create a smooth transition between the colors on the wings. Select the two colors you want to blend and go to Object > Blend > Make.
- Use the Eraser tool to erase any unwanted lines or shapes.
- Add any final details, such as highlights or shadows, and save your artwork.
With a little practice and creativity, you can create a beautiful butterfly drawing in Adobe Illustrator that captures the beauty and intricacy of these fascinating creatures.

how to make butterfly drawing in adobe photoshop
Creating a butterfly drawing in Adobe Photoshop can be a fun and rewarding project. Here’s how to get started:
- Open Adobe Photoshop and create a new document.
- Create a new layer and use the Brush tool to draw the basic shape of the butterfly’s wings. You can create two separate shapes for the top and bottom wings, or use one shape and duplicate it.
- Use the Smudge tool or the Blur tool to smooth out the edges and create a more organic shape for the wings.
- Create a new layer and use the Brush tool to add color to the wings. You can choose any colors you like, or use a reference image for inspiration.
- Use the Dodge and Burn tools to add highlights and shadows to the wings, creating depth and dimension.
- Use the Pen tool or the Brush tool to create the body and antennae of the butterfly. You can also add color to these shapes using the same techniques as before.
- Create a new layer and use the Brush tool or the Pen tool to add details to the wings, such as the veins and patterns. You can use a reference image for inspiration, or create your own unique design.
- Use the Eraser tool to erase any unwanted lines or shapes.
- Add any final details, such as highlights or shadows, and save your artwork.
With a little practice and creativity, you can create a beautiful butterfly drawing in Adobe Photoshop that captures the beauty and intricacy of these fascinating creatures.